Back to: ASIS PSP – Preparation Course
Objective: By the end of this lesson, you will be able to navigate the Construction Specifications Institute (CSI) MasterFormat, distinguish between an RFP and an RFQ, interpret standard security construction drawings (Risers vs. Floor Plans), and manage the Request for Information (RFI) process.
1. The “Construction Package”
To get a system installed, you cannot just tell an integrator “Put cameras everywhere.” You must provide a formal Construction Document (CD) package. This package has two equal halves:
- Drawings (The Visuals): “Where things go.” (Floor plans, Risers).
- Specifications (The Words): “What things are.” (Performance standards, product quality, installation methods).
The Legal Rule: If there is a conflict between the Drawings and the Specifications, the Specifications generally take precedence (though contracts vary, this is the standard rule of thumb).
2. The CSI MasterFormat
The construction industry speaks a specific language organized by the Construction Specifications Institute (CSI). You must know where Security “lives” in this numbering system.
Historical Context (Pre-2004 vs. Post-2004)
- Old System (Pre-2004): Security was buried inside Division 16 (Electrical). You may still see this in very old buildings.
- Current System (MasterFormat 2004+): Security has its own dedicated division.
The Critical Divisions for PSPs
You must memorize these four divisions:
| Division # | Title | What it covers |
| Division 08 | Openings | Doors, Frames, Mechanical Locks, Hinges, Glazing. (The “Hardware”). |
| Division 26 | Electrical | Power outlets, conduits, high-voltage wiring. (The “Sparky”). |
| Division 27 | Communications | Structured cabling (Cat6), Fiber optics, Server racks. (The “IT”). |
| Division 28 | Electronic Safety & Security | This is US. Cameras, Card Readers, Alarms, Fire Alarm. |
Exam Scenario: You are the security consultant. You notice the door frame is not grouted properly. Which Division specifications should you check? Division 08 (Openings).
3. Types of Security Drawings
A PSP must be able to read and create these diagrams.
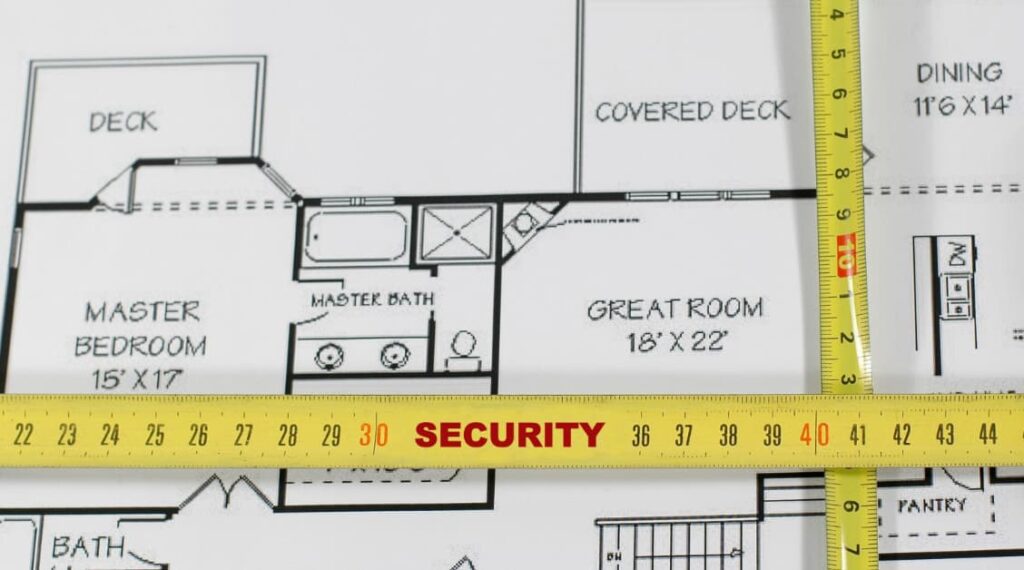
A. Floor Plans (Reflected Ceiling Plans)
- View: Top-down view (“Bird’s eye”).
- Purpose: Shows the physical location of devices (Camera A is in the corner, Reader B is on the door).
- Key Element: The Symbol Legend. Never assume a symbol’s meaning; always check the legend on the first page of the drawing set.
B. Riser Diagrams
- View: A logical, schematic vertical view. It does not show physical location (distance).
- Purpose: Shows connectivity. How do the components wire together?
- Example: It shows that the Card Reader connects to the Controller, which connects to the Network Switch.
- Value: Essential for the installer to know how to wire the system and for troubleshooting later.
C. Elevation Drawings
- View: Side view (looking at a wall).
- Purpose: Shows mounting heights.
- Example: A drawing showing exactly where to cut the hole in the lobby marble wall for a turnstile control panel.
D. Detail Drawings
- View: Zoomed-in close-up.
- Purpose: Shows installation method.
- Example: How to attach a maglock to a glass door header.
4. The Procurement Process (Bidding)
How do we hire the installer (Integrator)?
A. The Acronym Soup (RFP vs. RFQ vs. RFI)
Do not mix these up.
- RFQ (Request for Qualifications): “Are you capable?”
- Asking vendors for their resumes, financial stability, and past project experience. No price is discussed yet.
- Goal: To create a “Shortlist” of qualified bidders.
- RFP (Request for Proposal): “How will you do it, and for how much?”
- Sent to the shortlisted vendors. Includes the Drawings and Specs.
- They return a technical solution and a price tag.
- IFB (Invitation for Bid): “How much?”
- Used when the design is 100% complete and you just want the lowest price. (Commodity buying).
B. The RFI (Request for Information)
During the bidding phase (or construction), the contractor will find errors or missing info in your design. They submit an RFI.
- Contractor asks: “The print shows a camera on Wall A, but Wall A is made of glass. How do we mount it?”
- PSP answers: “Mount to the ceiling mullion instead.”
- Critical: All RFIs and answers must be shared with all bidders to ensure fair competition.
5. Construction Specifications (The “Specs”)
The specifications document describes the quality and execution. It usually follows a 3-part format:
- Part 1: General
- Administrative requirements (Warranties, submittals, definitions).
- Part 2: Products
- The hardware itself. (e.g., “Camera must be 4MP, IP66 rated, with WDR”).
- Or Equal Clause: Usually states “Brand X Model Y or approved equal.” This prevents monopolies but requires the PSP to vet alternatives.
- Part 3: Execution
- How to install it. (e.g., “All wiring must be concealed,” “Test every device”).
6. Project Delivery Methods
Who works for whom?
- Design-Bid-Build (Traditional):
- Owner hires Consultant (PSP) to design.
- Consultant produces drawings.
- Owner puts drawings out to bid.
- Owner hires Integrator to install.
- Pros: Owner keeps control. Cons: Slow, adversarial (Integrator blames Consultant for errors).
- Design-Build:
- Owner hires One Firm to do both design and installation.
- Pros: Fast, single point of accountability. Cons: Loss of checks and balances (The fox guarding the henhouse).
Real world tip: The “Red Line” Rule: Contractors rarely look at the “Final” drawings. They look at the first set you sent them.
- Tip: When walking the site, look for the physical drawings they are using. If they don’t have red markings (Red Lines) showing changes, they are building off old info.